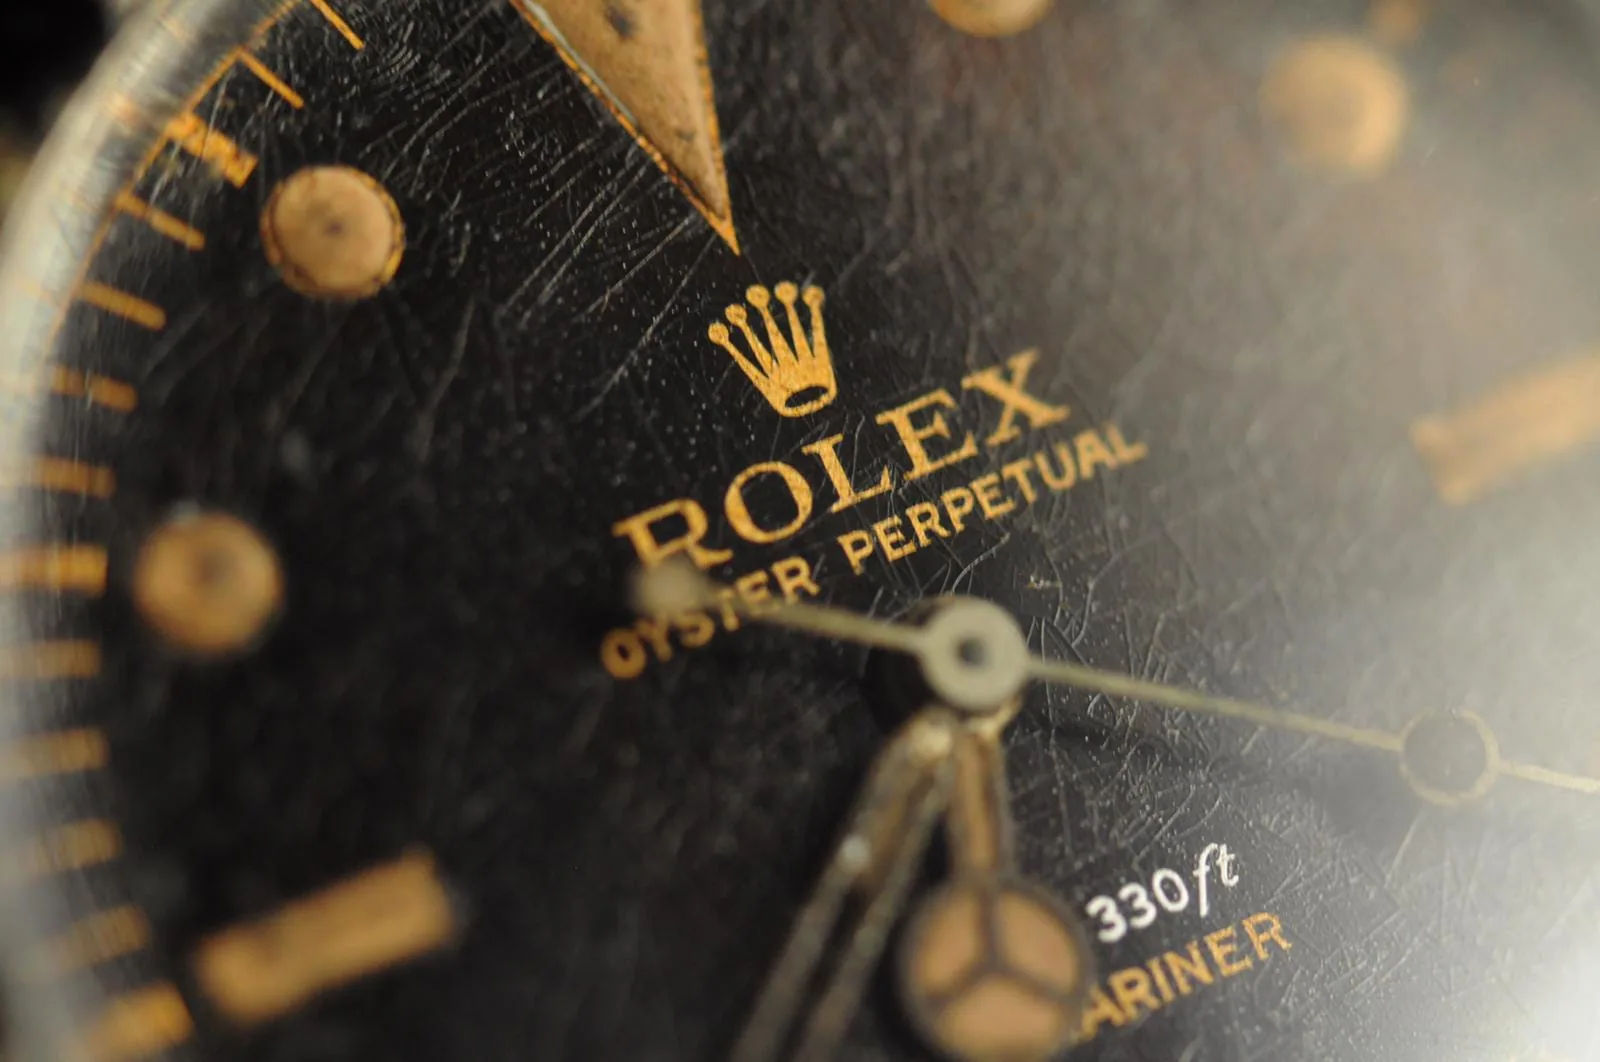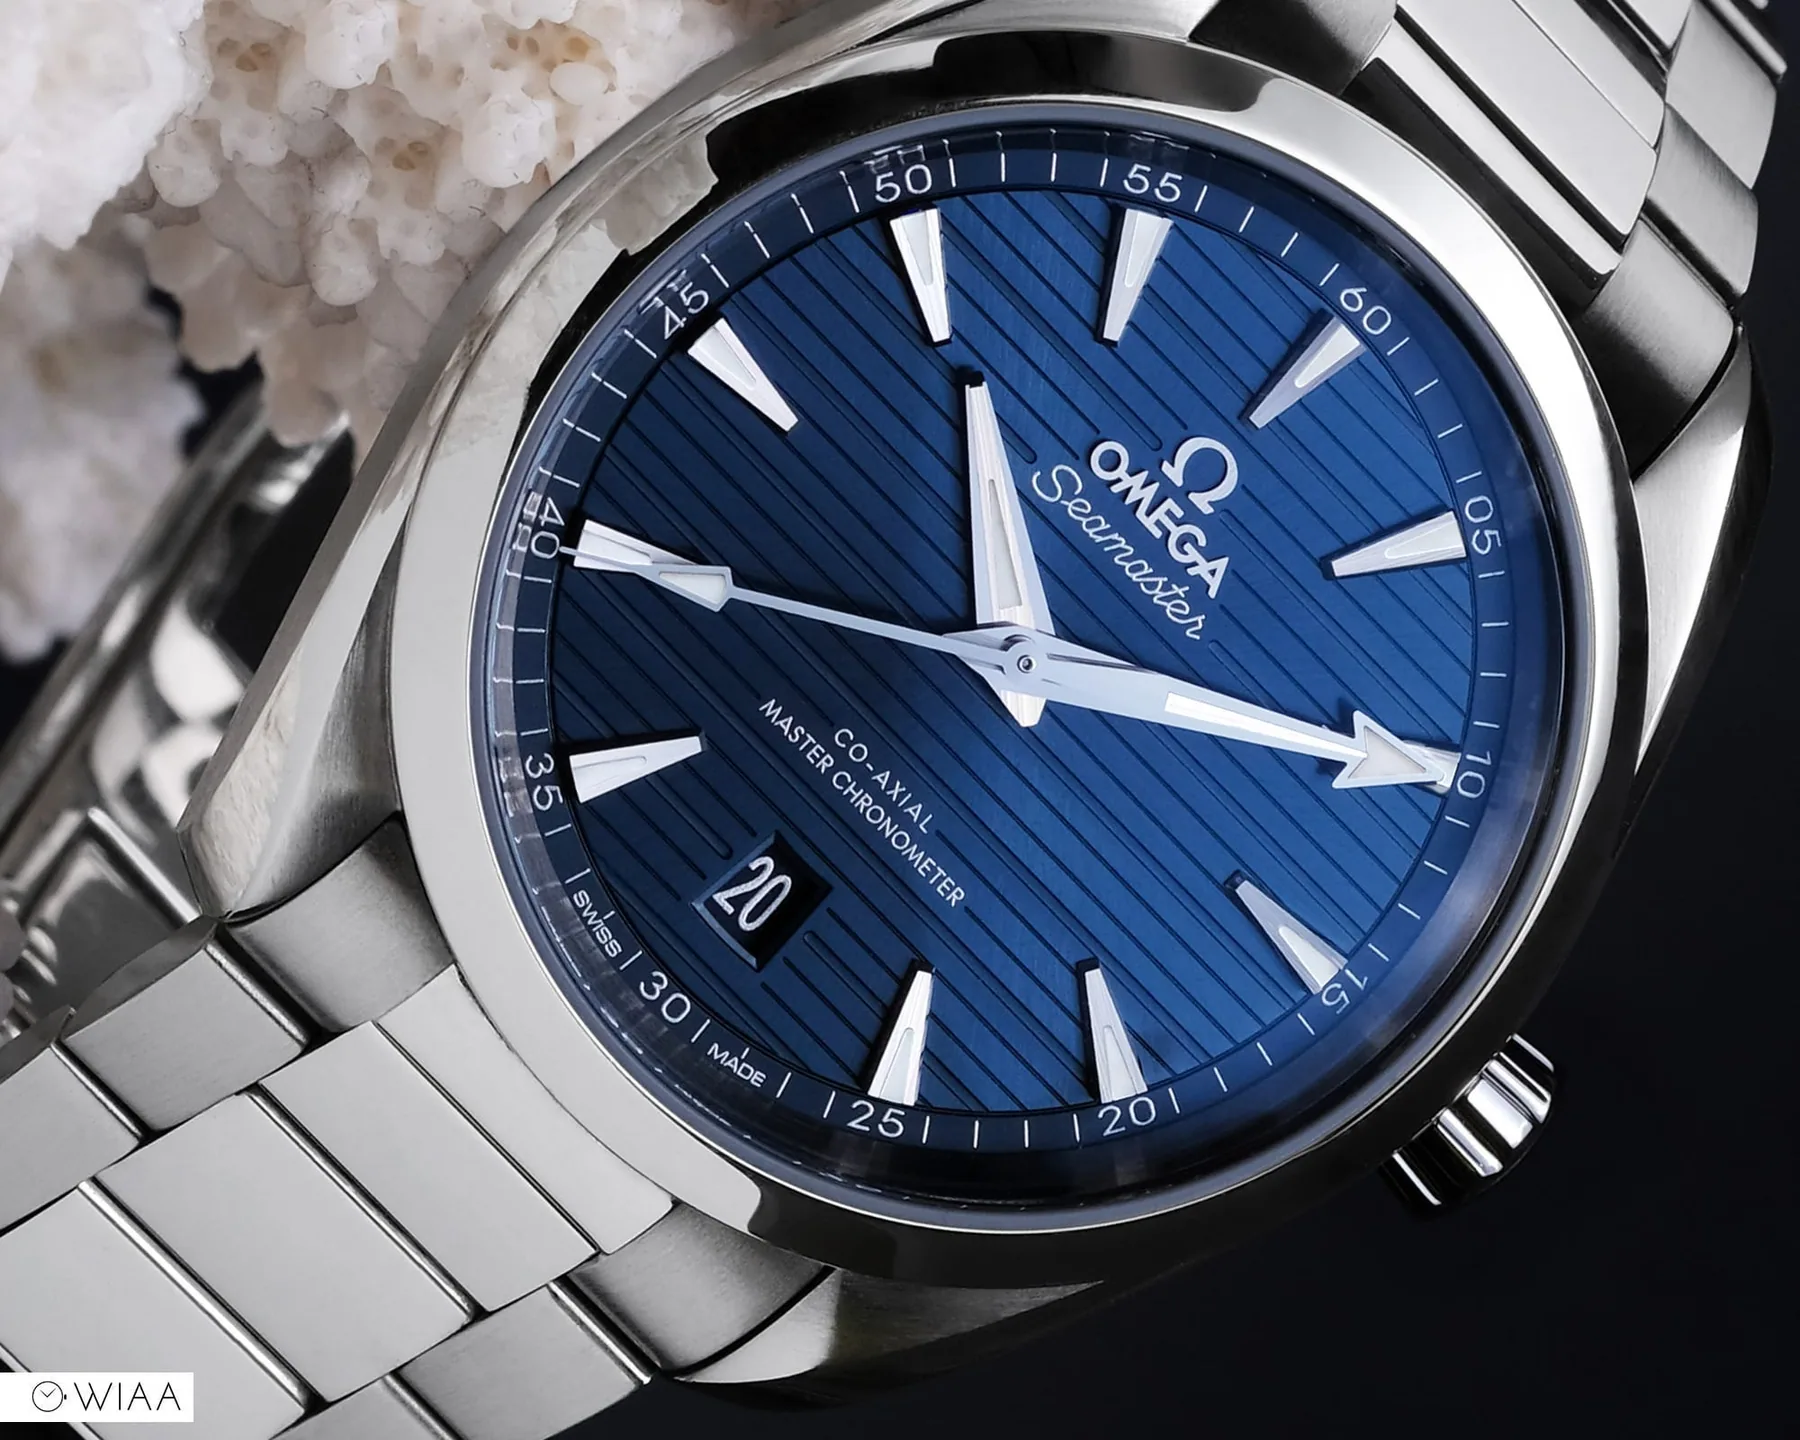
As photo geeks, we obsess over image quality. We read countless reviews before buying a camera or lens and examine our images at 200% magnification before sharing them. From this standpoint, it’s reasonable to assume that an image should be as clean as possible and free of any visible noise, right?
In this article, I’ll go against the flow and try to present to you some of the advantages of doing the exact opposite — adding grain instead of running away from it.
What is noise, anyway? Digital noise consists of random pixels scattered over the photo, producing a similar effect as the grain in film photography (film grain was caused by the little silver particles that made up the image, and as a result was more uniform). All camera sensors produce noise, but as a general rule, the higher the sensor’s sensitivity (also known as ISO), the more visible it becomes.
In moderate quantities, allowing this apparent noise or even adding grain in post-processing can have some practical advantages, as I will explain in this article.
Grain makes images “look” sharper
As a solution to the noise generated by cameras, most manufacturers and editing programmes include a built-in “noise reduction” feature that tries to identify the noisy pixels and remove them from the image.
However, smoothing out the noise comes at the expense of blurring the finer details in the image. From my experience, modern cameras can handle higher ISOs way better than they did in the past without the need for noise reduction, so I tend to keep this feature off to avoid losing sharpness.
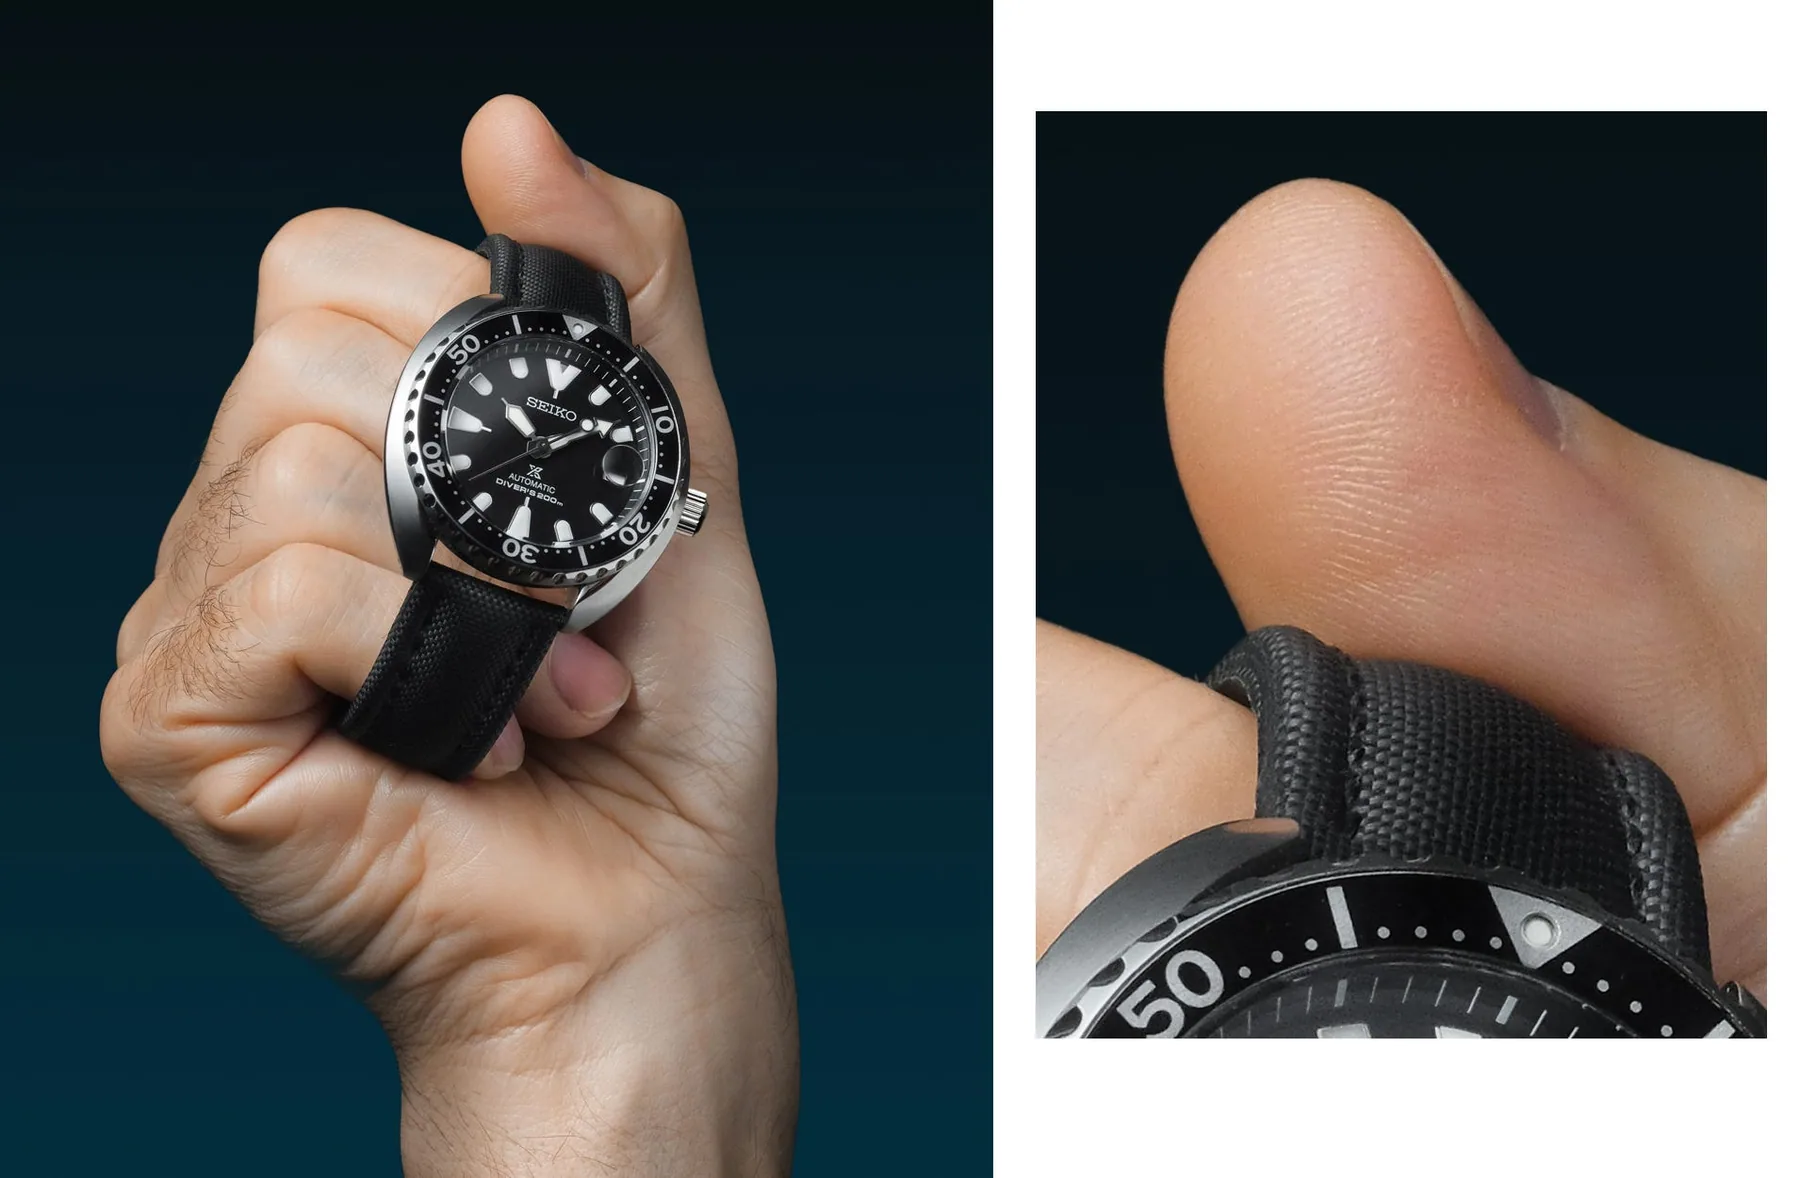
Minimizing noise reduction and accepting the digital noise can increase acutance and create the appearance of higher resolution. So the paradox is that noise makes images look sharper!
This happens because of the added texture that noise provides. It creates an optical illusion where the sharp tonal differences across the pixels can make the image appear sharper without changing its resolution.
Your brain is constantly seeking patterns, details, and finding them where they don’t really exist.
This article provides a complete guide on the differences between Sharpness, Acutance and Resolution, and how these three variables affect our perception.
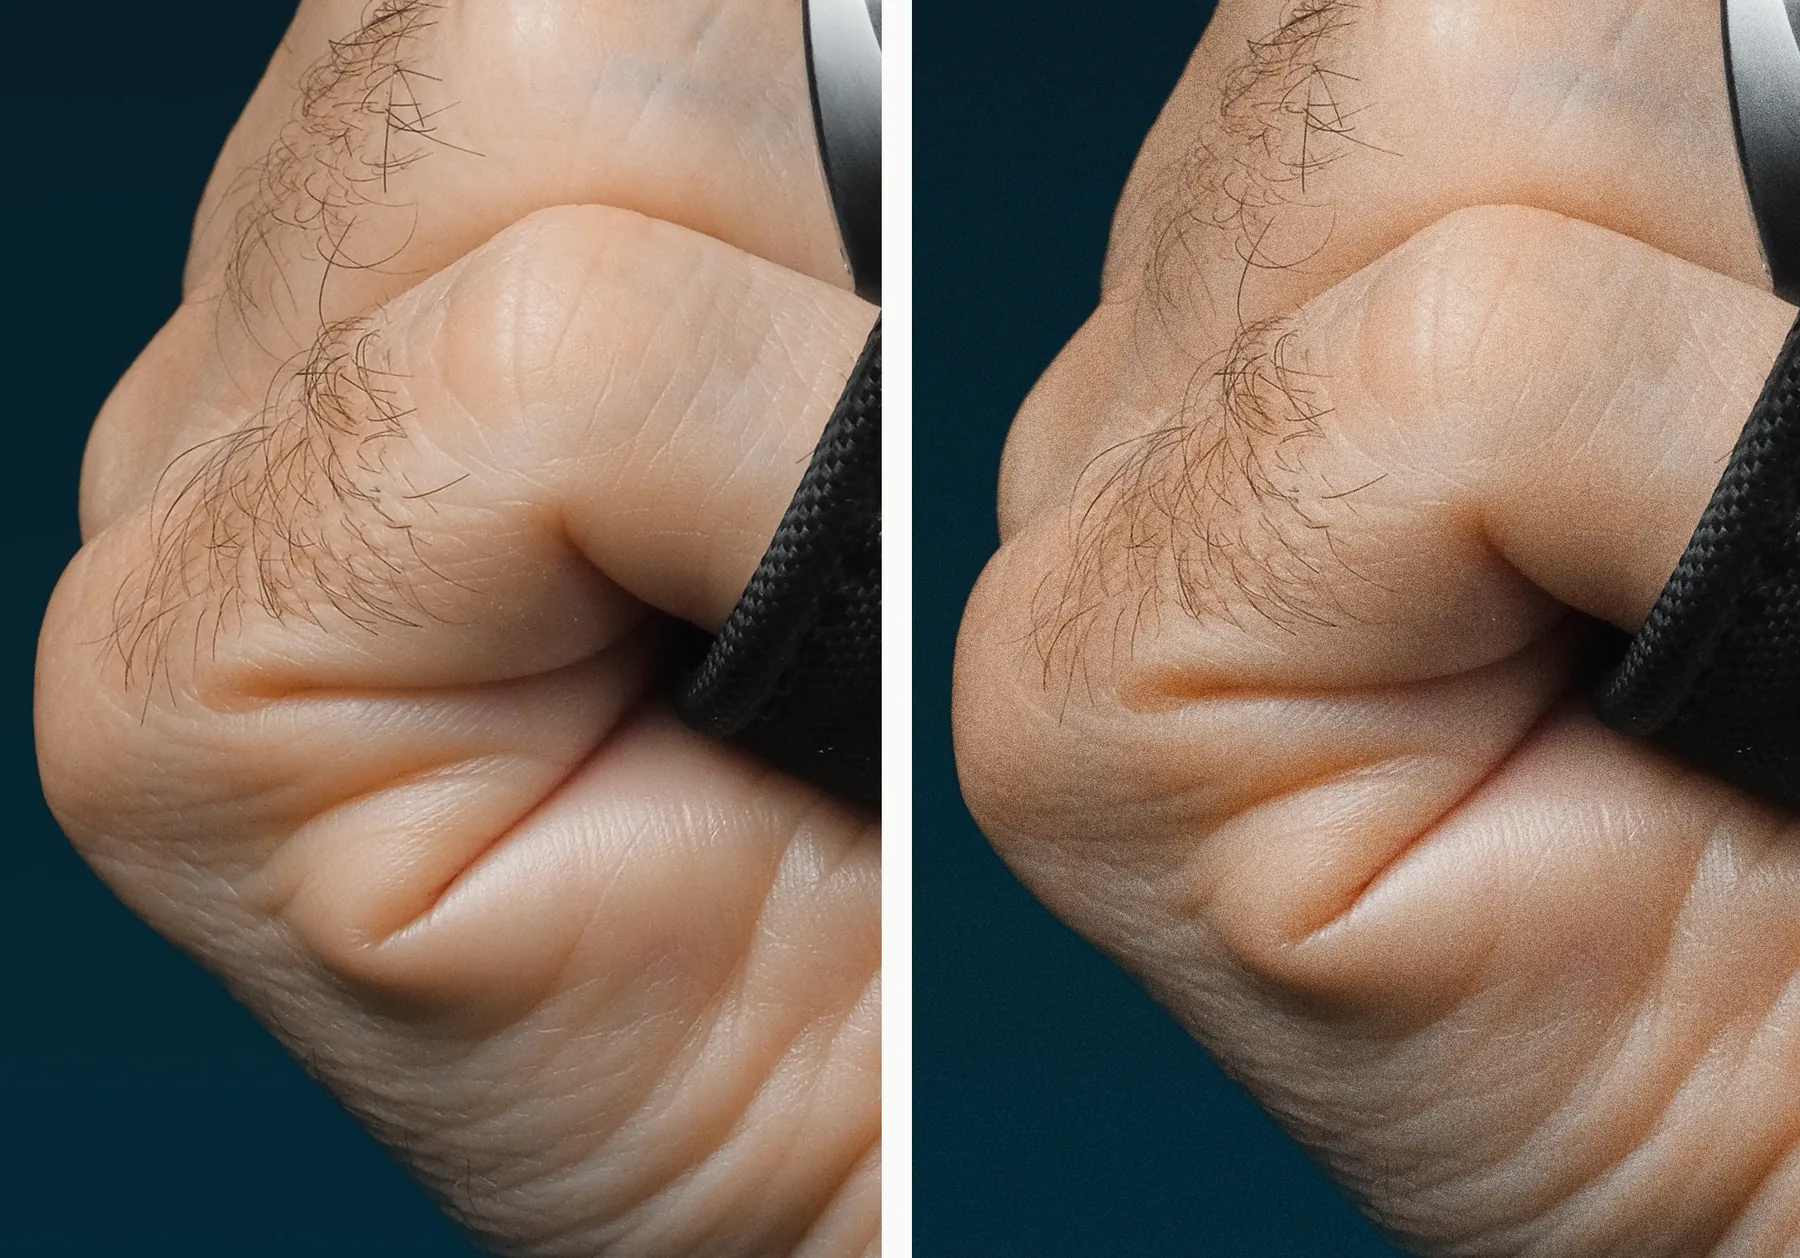
So, my recommendations to maximise sharpness in a controlled lighting environment are:
- Set the camera to a moderate ISO (between 400 and 1600);
- Don’t be afraid to turn the Noise Reduction off or low, depending on your camera;
- Edit and export the image to your desired output size;
- Add grain;
Grain can solve colour banding
Colour banding: even if you don’t know its definition, you probably came across it on images posted on social media websites. Can you notice the difference in the gradients below?

Banding is one of the most annoying defects you can find in photography. It happens in smooth areas with similar shades (for example, a gradient from grey to black). Since the image files are not capable of displaying an infinite number of intermediate tones, this results in visible and unpleasant tone discontinuities.
The more adjustments you make to a photo, the higher the chance of banding to occur, as most of the adjustments compress the image tones. To make things worse, this phenomenon became even more apparent due to the heavy compression that social media websites apply to the images, further reducing the number of tones available in the image and often resulting in a pixelated mess. In the past, I’ve struggled a lot while editing my watch pictures, with banding always ruining my smooth background gradients.
Fortunately, grain can be our ally in the fight against banding — Together with editing on 16 bit rather than 8 bit (which enables more tonal variations per colour), a bit of grain can help to blend the harsh transitions between tones. This tutorial presents a more in-depth method for applying grain to mask banding.
When uploading your pictures to social media, the added grain can also trick the platform’s JPG compression algorithm, reducing the chance of ruined gradients (keep in mind it’s not a bulletproof method, specifically with red tones, which are more prone to artefacts than other colours).
Grain adds a pleasant texture to prints
When printing digital images, a touch of grain can add a lot of depth to the print. Because paper is a physical object, an image that looks too smooth might appear artificial to our eyes, particularly on glossy paper or acrylic.
The minor imperfections provided by the grain texture can make images feel more real (for lack of a better term) and tridimensional. As explained above, it also makes the prints appear sharper. It’s a win-win!
Grain gives images that “old-timey” feel
Besides the technical advantages that I previously presented, adding grain can also be useful for visual and artistic effects.
Black and white images had visible grain from the dawn of photography, unavoidable due to the nature of the medium. As most of modern history was recorded on silver images, when we look at a picture with texture, our first instinct is to think that it was taken a long time ago.
As photographers, we can use this common perception to our advantage — by adding grain and adjusting the tones we can give an old and vintage look to our images, even if they were made yesterday.
If adding grain to a digital image sounds a bit “fake” to you, bear in mind that film photography is still alive and that nothing beats the real thing (at least for me!)
Watch Photography With a 1960s Camera
My first experience using a Rolleiflex to capture the beauty of vintage timepieces
medium.com
How to add grain
Since I discovered the practical advantages of grain, I always sprinkle a little on my images right before publishing or printing them. It’s an easy process and it pays off, just as seasoning the food makes it taste way better!
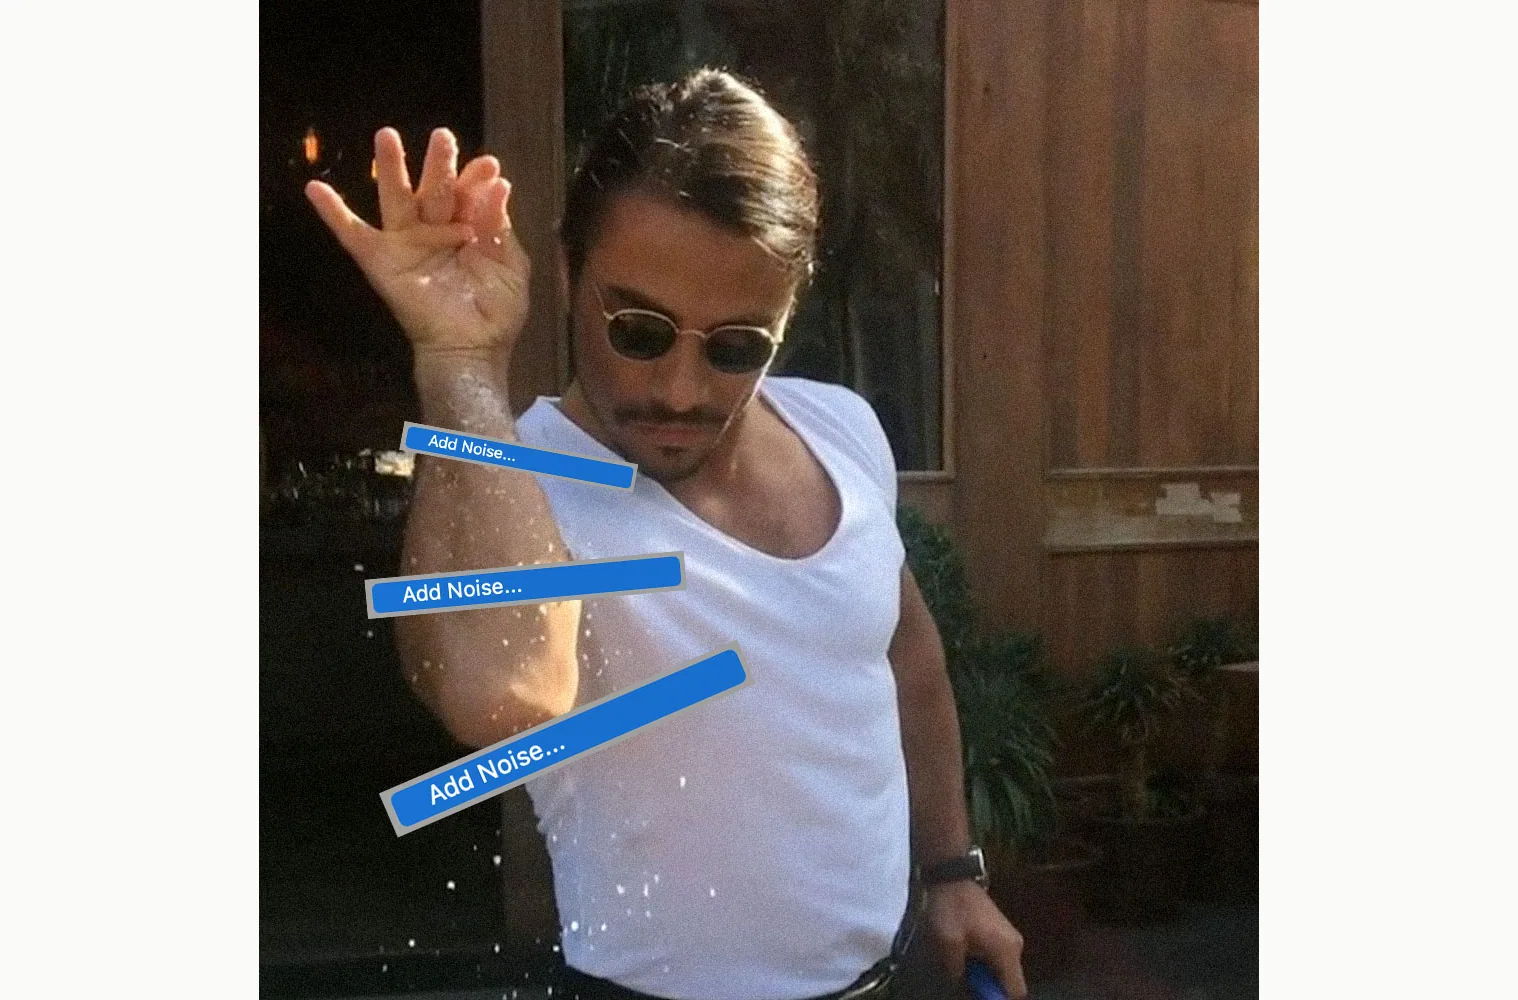
There are several ways of adding grain to your images, depending on your workflow and editing programme of choice, so in this article I won’t go into the specifics of the process. Just make sure to export the picture to the desired size before adding grain (for example, 1080 pixels wide if exporting for Instagram), to retain the grain texture without messing with the pixel dimensions!
And always remember, #GrainIsGood
Bruno Candeias is a photographer and watch journalist based in Lisbon. He writes here whenever there is something worth writing.